Game Controller
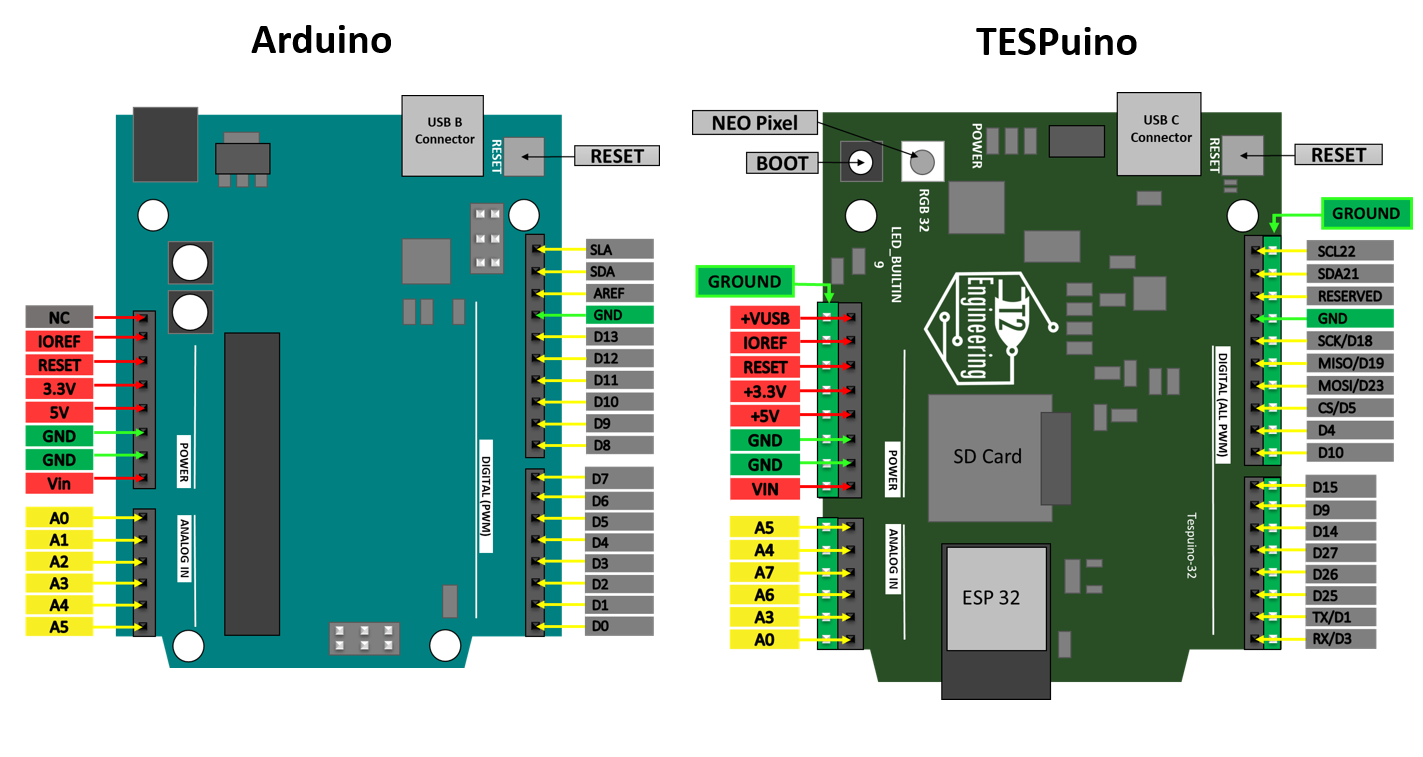
To showcase the Bluetooth of the TESPuino, we built a controller shield that will fit on top of the TESPuino (or Arduino UNO). This gives button input control to the TESPuino. It also has 5 neo-pixels to enhance your experience. Then we designed and printed an enclosure to enjoy some time playing some games.
This turned out so great that we are also including this as a reward for a pledge of $66 or more. It comes with a TESPuino-32, a controller board, a LIPO battery, and a 3D printed case. Lots of fun can be had with this little beauty, and this really shows off what the TESPuino can do with any project.
List of Materials
The following materials were used in this project. I’ve also included links to the specific products I used.
TESPuino-32 or -S3
Controller shield
LIPO Battery
3D printed enclosure
Computer to run Game
Coding
The software we have loaded on this is emulating keyboard input now, so you can really sink it up to anything. That means that the left button is really received by the Bluetooth at your computer as hitting the "x" key on the keyboard. This is all configurable in the code or with the game when getting started. That makes this really fun because you can change it to whatever you want. There are other ways to improve the code if you want as well. But just as it is now, it works great for playing some games on a laptop.
This code was developed with C and we used VS Code to compile and load to the TESPuino. Code will be added soon.
Playing
Once I loaded software on the Tespuino, it was pretty simple to make it work. I opened the serial monitor and got the IP address of the Tespuino. I made sure I was on the same network as the Tespuino, and then went to the address given and found the webpage that I had set in the arduino sketch. When I pressed the button on the screen, I’d get the appropriate response from the Infinity Mirror.


